
For a new reader to this fascinating blog . . . the title refers to a great deal, a really great deal of Sanding, and Washing, and Painting and Sanding and Washing and Varnishing, and Removing and Repairing and Replacing.
Despite a winter of mucking about with the COLUMBIA III, the real work starts in earnest April 1st with Farlyn and Steve and Luke showing up for work at 8-9am and I have to have something for them to do. This year I upgraded to a dry erase board to ensure they never stressed for lack of gainful tasks. This board was upgraded hourly . . . for the month of April.

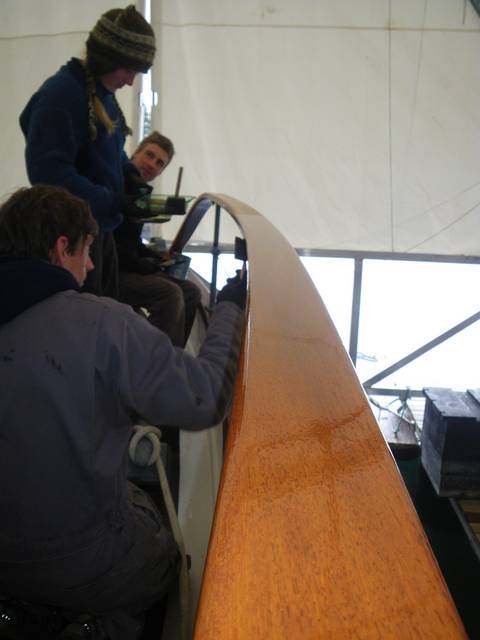
So first things first, the “crew” and I walk around the boat and determine how much time we have, how much money I have and what we think is the most pressing areas of the boat. There are always areas that we worked on diligently last winter and only require a reasonably quick S&P. . . and there are always, (always!) areas on a +50 year old wooden boat that need extra work. We try to strip some sections of the boat down to bare wood each year to prevent the paint from building up too thickly. A really thick coat of paint holds the moisture in against the wood and causes rot. And, its just too much work to strip the whole boat down to bare wood so we just do some of the boat each year. This year it was decided to work on some areas of the bulwarks. We use heat guns and (sparingly) propane torches for removing the paint accumulation.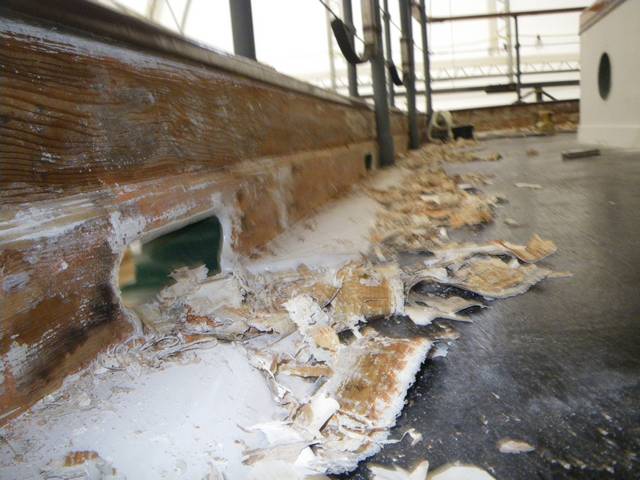
Its nice to see the clear yellow cedar on the bulwarks still perfectly sound after all these years.

Then sanding the bare wood.
And then lots of sanding on the sections of the boat that didn’t get stripped.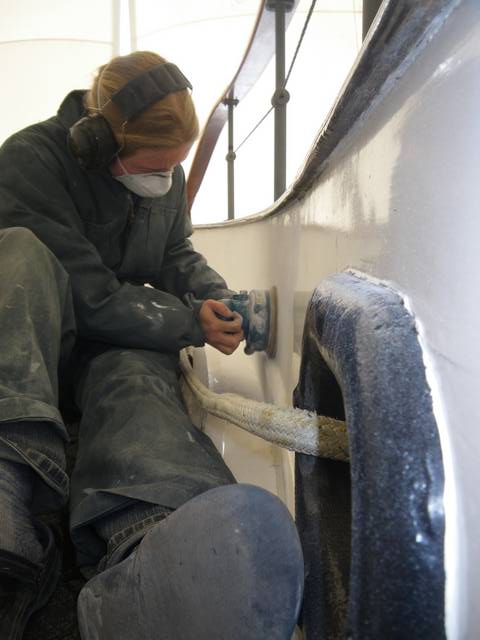
Farlyn and Steve emptied the lazarette for cleaning, painting, upgrades and re-inventorying the supplies kept there. And I do keep a lot of spares . . .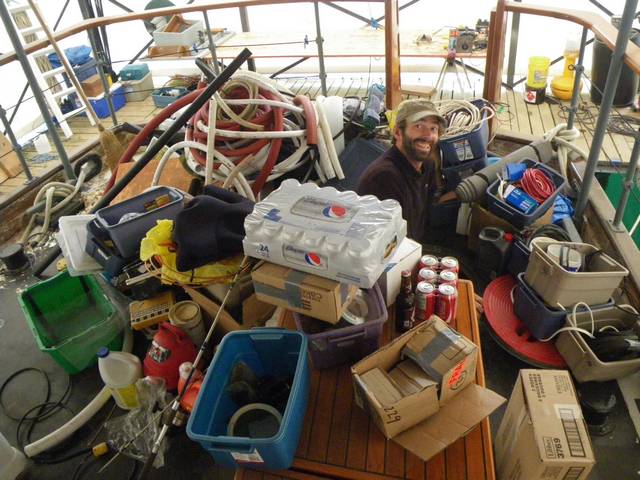
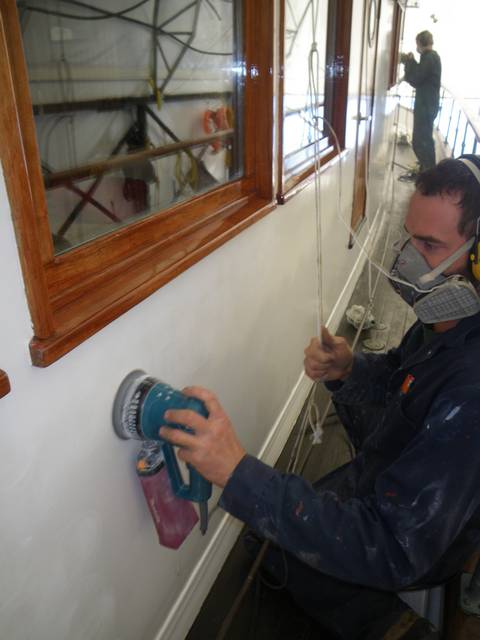
And the brightwork gets hand sanded . . .
And finally we scrub the WHOLE BOAT . . . to get rid of all the paint dust.

We work in the shop on other components to let the boat dry after washing.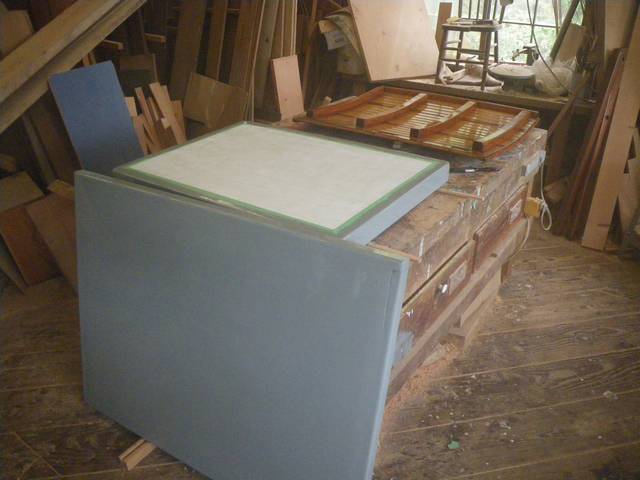

And the boat dries and finally the paint starts to go back on. Yay!

v

I seem to spend a great deal of time running errands for the crew; finding the right paint, or more sand paper etc, etc, but still I have my own list of dedicated tasks. A fairly major project this winter was the installation of a new primary radar. The old one was just getting too weak and it wasn’t worth further investment in repairs. But cutting all the wire bundles to remove the old radar and installing the new radar put the wheelhouse into a “tizzy”. With the new radar being connected to the GPS, the AIS, the heading indicator in the lower reaches of the boat as well as the ship’s computer and the radar antenna on the roof, I had all the floor boards and wire bundles cut loose to restring the appropriate cables.
The area under the wheel house driver’s seat is a busy hub of wires to keep up with modern navigation equipment.
Unfortunately, the new radar came with enough cable to reach the mast top of a sail boat so I had to shorten the cable. As I am only a casual electrician, I ccccaaaarrreeefffullllllyyyyyy cut all the wires and respliced the cable. I did this after the regular work day ended so I could work without interruption. 
From chaos arises . . .

a phoenix . . . the finished product. Note all the tidy little heat shrink solder joints.
. . . and many days later, the wheelhouse returned to normal! I hope it works when we push the boat out of the shed!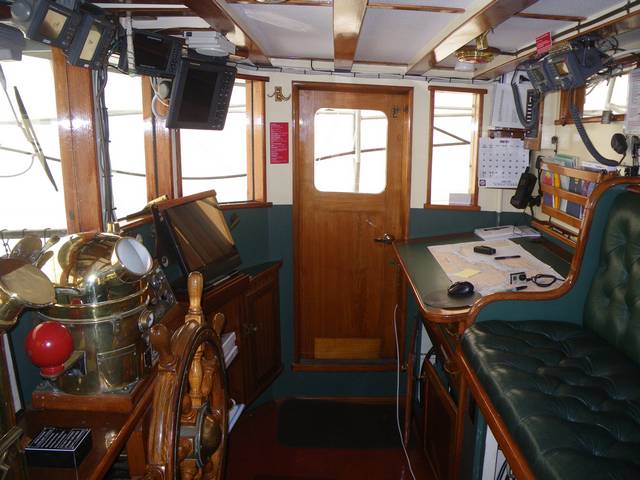
Miscellaneous engine room and lazarette floor boards, S & P . . .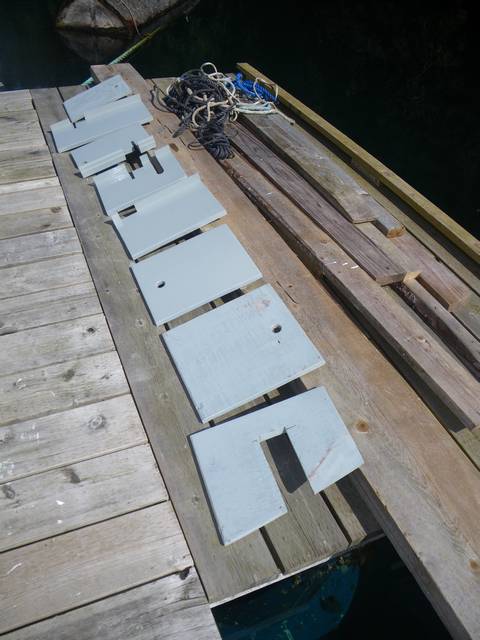
and cabinets, S&P. . .
Another Ross-project. Removing the anchor winch hydraulic motor for overhaul in Victoria and cleaning, replacing the gear oil, reinstalling the motor with new hoses and painting . . .


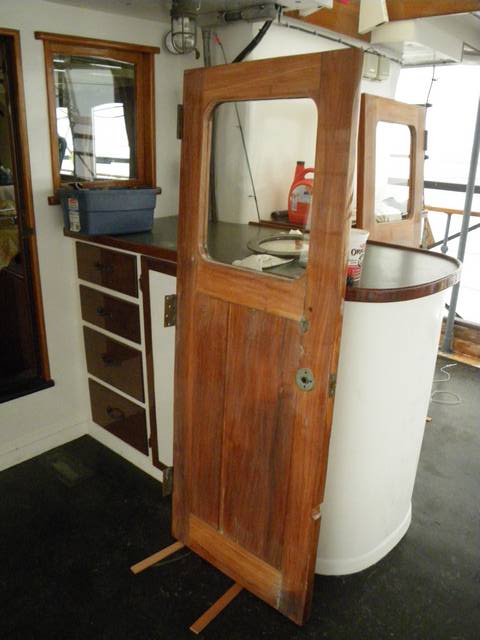
Our son-in-law, Luke, has a special skill set which I shamelessly employ. Besides the usual sanding and painting, I use Luke for projects that require that extra measure of care and quality woodworking. So as the team proceeds with the general S&W&P&V, I create a list of projects for Luke. When we were in the shipyard for the refastening, we had to cut a hole in the floor of one stateroom to gain access to the cooling pipe attachment bolts. So Luke was tasked with creating a new floor hatch to match those already existing on the CIII.
. . . and Fern wanted better ventilation in the aft deck food locker so Luke created a sweet little louver to insert into the door. (Oh! This took two days!!)
. . . and he is annually tasked with varnishing and polishing our “signature” salon table.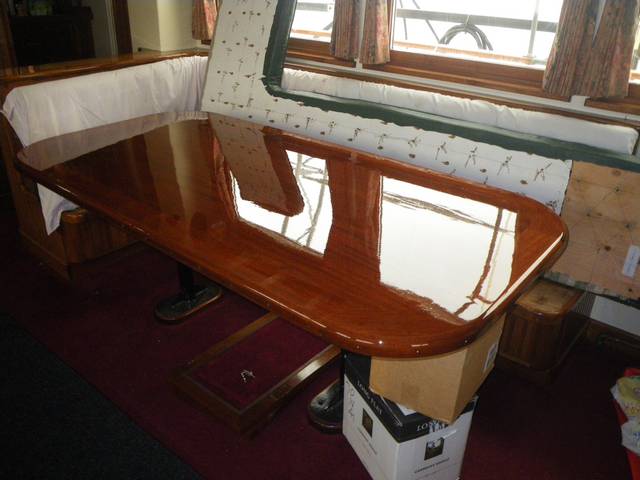
I missed the polishing action as I was in town on errands, but here the brass guard strip goes back on the table. The polishing is pretty messy, so we remove the table to the workshop for the actual polishing.
. . . and the lazarette needed some better floor boards so Luke designed ones that would fit through the narrow deck access hatch.
Meanwhile, the painting continued. Three coats on the bare wood.
And the roof gets a new deck coat after all the fussy, messy bits (funnels, masts, vents, and trim) are completed.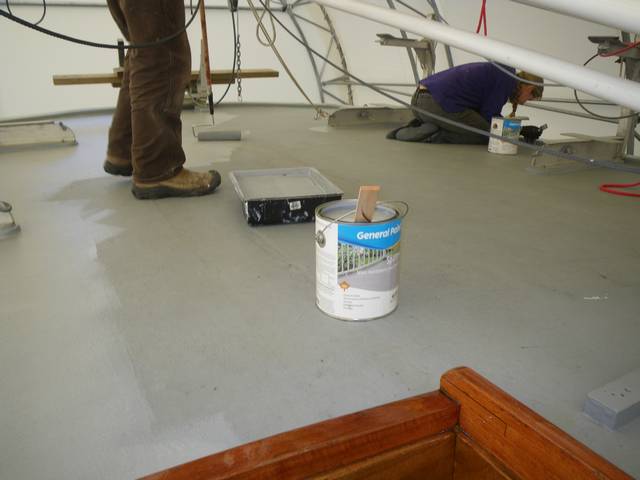
Sanding and painting the aft deckhead is never a nice job. Steve never complains, but his neck is pretty sore at the end of it . . . and a beer waiting never hurts.

We often paint in a team of 3. The roller, the “cutter” (brushing the tricky bits) and “tipping” (brushing with even steady strokes to remove the roller stipple and to leave a uniform finish). Here the team start the starboard hull.
I like it when I can see reflections on the hull.
We always remove as much hardware as is physically possible before we paint. It just makes for a much tidier job. But it feels great to see the brass door handles, catches, and hooks going back on again. The boat starts to look like a beautiful heritage vessel again. Here the bell gets screwed back on . . . things are starting to look “shiny”. This is a good thing!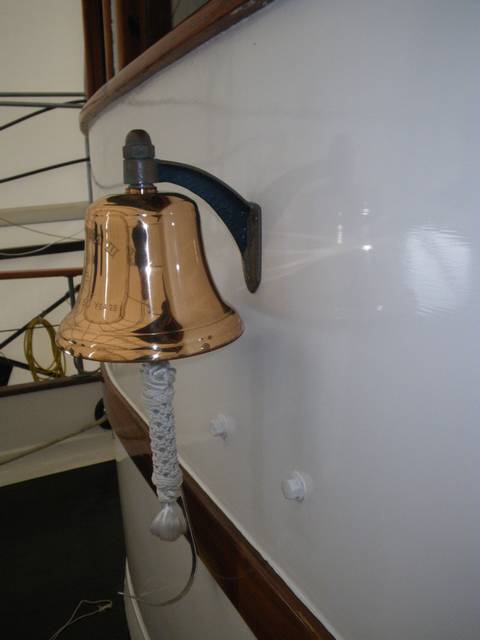
The deck hatches, caps, guards and hand rails get hand scrubbed with scotch-brite and a coat of clear marine gloss Cetol is applied.

The last deckside jobs are to paint the bulwarks and decks. We carefully scrape and pick clean small paint drops that fell from above, and make a final sweep and wipe with paint thinner. 

Another of my jobs was to create a new shower grate for the chapel shower. The old one was getting just a bit too tired. Here is the epoxy coating curing in the shop.
I redid the bottom half of the shower stall as well. It’s sort of cheating to do only half, but the painting last year didn’t adhere as well as I wanted near the bottom, so I got lazy and only redid that section.

More “shiny!

And finally, the decks get recoated.
Holy! The boat is starting to look sharp! It’s quite a transformation from the shipyard in February.

And I did the annual engine room scrub with soap and water and polished the old Gardner engine for good measure. We must be getting close to being done!
There’s a few shots for the curious. Of course, 3-5 workers for the month of April do a zillion small and large jobs. Food lockers are scrubbed and painted. Chipped paint in the galley gets repaired. Main engine filters are changed. Fern works on menus, recipes, cook books and huge food orders. Deck chairs are refinished. Staterooms are cleaned and smoke detectors are given new batteries. This is a “detail intensive” business. Marine medicals are renewed. Crew are sent out for marine training upgrades. A kayak guide gets a Bear Viewing Assistant Guide training.
16′ 6″ feet wide x 68′ long. And a whole lot of energy poured into a small area!
