
Or more appropriately titled:
“The work continues and we better hurry up because spring is coming!”
It might not seem like a very lofty personal mantra, but as the short winter days begin to gradually lengthen, and the signs of spring abound (blooming forsythia, eager daffodils by the trail to the shop, and robins returning en masse), my ‘raison d’être’ is “wood to white“.
Whilst I was (humbly) fooling around on numerous invisible tasks around the boat and the Mothership Adventures office, Luke (AKA Glamour Boy) was diligently proceeding with the master project for the winter. Once the basic structure for the aft deck roof was in place, the next step was to cover the beams in plywood.
Sounds easy, right?
Wrong.
The 8′ sheets of plywood had to be scarf joined together, at which point we had an “epoxy guru” come to teach us how to encase the 8′ x 16′ plywood sections with fiberglass cloth and epoxy resin. As the glue does not like the cold, we moved the process up into the workshop. The first night, it took us 4 hours to coat one side of the first panel.
With 9 panels to go, it seemed Glamour Boy and I were going to be spending a lot of time together.

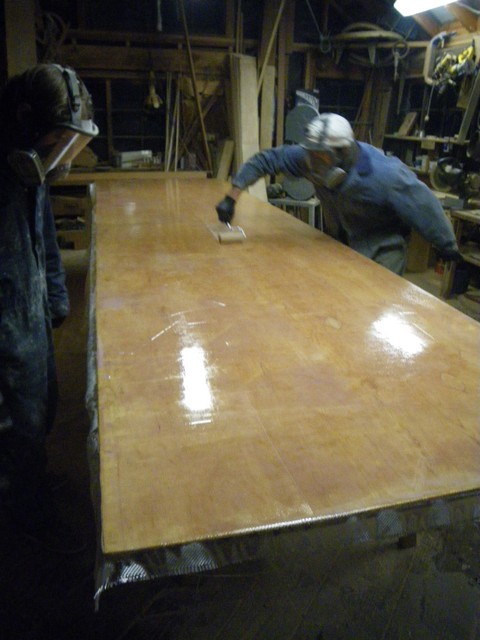
Here, “Epoxy Guru” Josh attempts to impart his high standards upon our crew. No air bubbles or dry spots, no wrinkles, no lumps, no areas too flooded, super accurate measuring of the glue, mixing for precisely the right amount of time.
Gee, it was like Epoxy Boot-Camp.

Epoxy is not the nicest stuff; so it was a respirator and glove affair for sure.
After the first night, in an effort to speed up the process, we carried the table saw, thickness planer and stationary sander out of the shop so we could squeeze a second panel in. This allowed us to coat two panels a night (after a regular days work on the Columbia III).

Epoxy resin likes summer temperatures, so we kept the shop fire going 24 hours a day for 3 weeks trying to get the glue to set hard enough to allow us to sand it smooth. It worked out fine in the end, but we couldn’t rush the curing time.
Here, Tavish sands and trims a panel, the final step before it’s ready to install.

Step #436,545: The panels are finally ready to leave the shop.

Step #436,546: Panels go into the boat shed.
It was another big step to get the panels trimmed to the correct width (about 39″).

They were first glued into place, then trimmed to size.

It was then the panels began to resemble a roof!

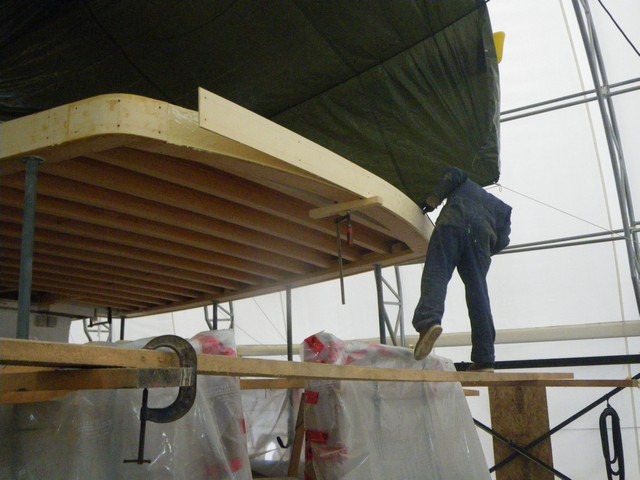
Luke completes a few finishing touches to the laminated beam at the back.

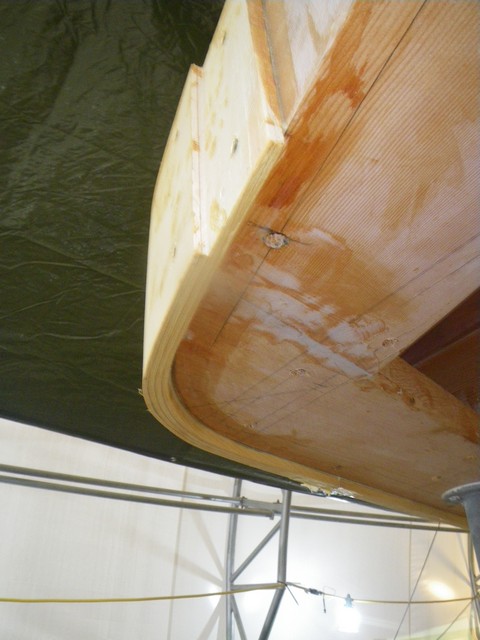
He then sealed all the joints with fibreglass cloth. The entire vertical edge of the structure was covered in bi-axial fiberglass cloth and epoxy resin to ensure there was a totally waterproof membrane protecting the new roof structure.

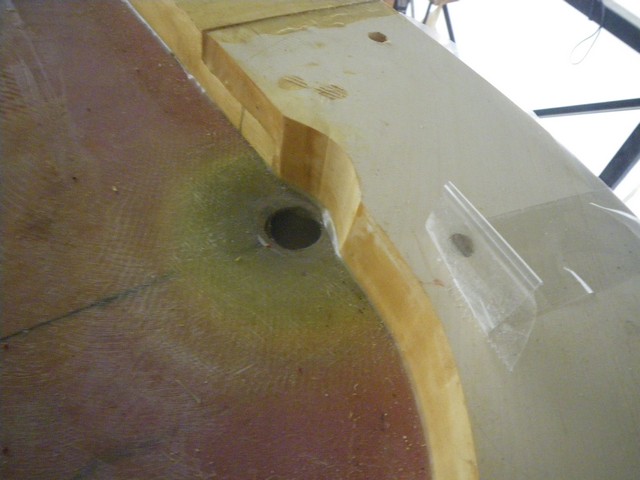
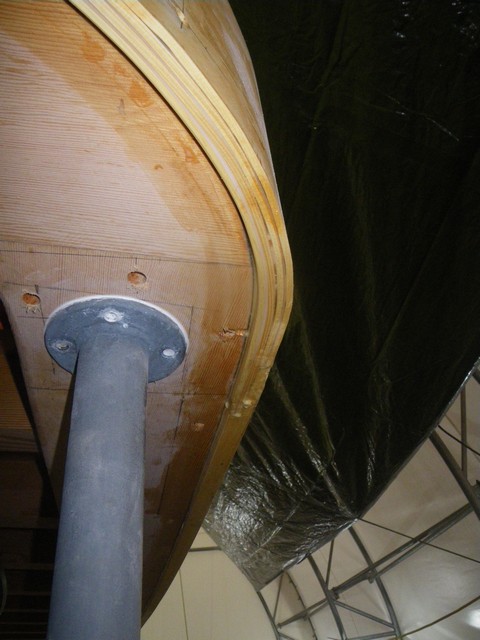
This kind of work has lots of little side-steps. Luke custom manufactured 2 stainless steel downspouts that were embedded in the roof.

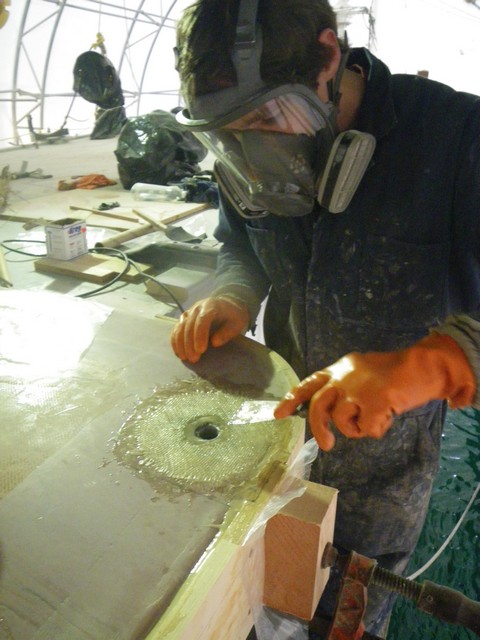
Normally this kind of rainwater drain would be a very likely source of rot on a wooden boat, which is why so much energy was expended to ensure this was very water-proof.
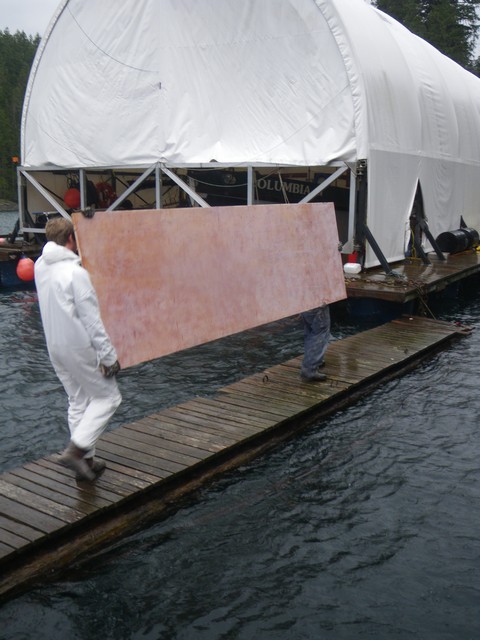
The next step was to transport the gorgeous clear yellow cedar accumulated for the project from the boat-shed to Luke’s big thickness planer next door via herring skiff. We then return the dimensioned lumber back to the boat shed. It’s only a short trip across the bay, but grandson, Theo, wasn’t going to miss out on “Hel-pin work on Coe-umbia Twee“.

Young Theo’s gold locks match the yellow cedar behind him.
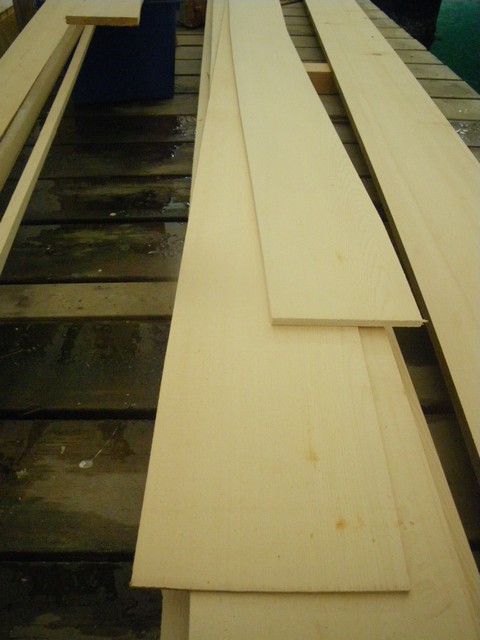
Thin planks for laminating the curved fascia boards.
Next step? A WHOLE bunch of steaming, bending, and laminating to get the dressy “fascia boards” installed. There must be a better nautical wooden-boat, techie kinda term for these boards, but I don’t know what it is.
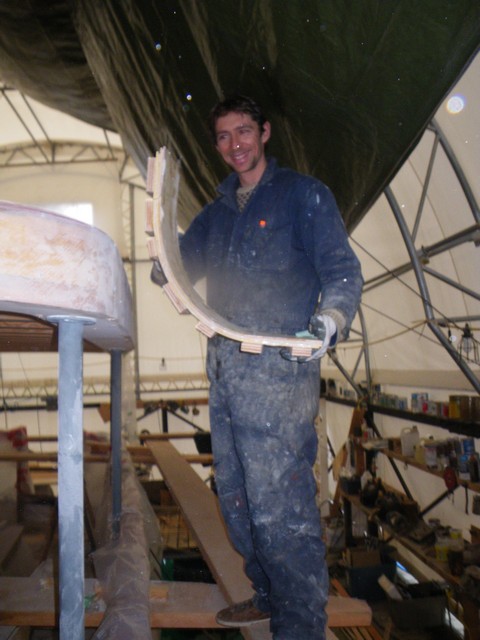
Bending to form a snug fit on the Columbia III.
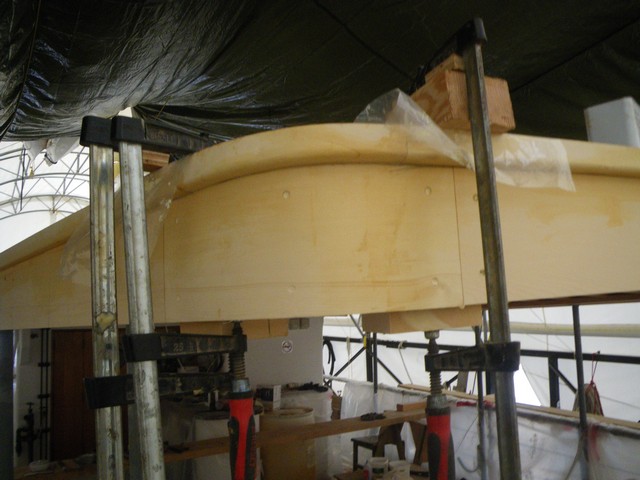
Details of Luke’s work.
Meanwhile, life still continues elsewhere . . .
What I really mean is work continues elsewhere on the Columbia III.
Our dear friend, “Webmaster” and “Tech-God” Dave made his usual mid-winter trek to our remote island to tweak our Mothership Adventures computers, which are becoming quite the collection now (2 PC’s, 4 laptops and a crazy collection of wireless gizmos trying to keep everyone in our small bay “connected” through a satellite modem).
Here, Dave installs new satellite telephone software on the ship and gives all the systems a checkup.

Furthermore, these pesky little additions keep getting sanded and revarnished.


I did a “cameo” appearance on the roof project helping Luke out with the new teak hatch combing.

And Tavish removed (a little too enthusiastically, might I add) 4 of the salon windows for replacement.

I can guarantee you that the best way to slow down a project is for the glass manufacture to cut, temper, double-pane, seal, and ship 4 new custom shaped windows, sized to the wrong specifications.
I thought that was painful… until it happened twice.
If I have any hair left, it is now 100% grey.

Finally we got some sealed panes we could work with. Here, two are being pressed into place in a bedding of sealant.

After a couple of days curing time, the teak strips are carefully cut, fitted and the glued in place. I hope these last a long time, because tearing these frames apart is a lot of work.

Meanwhile, Luke doggedly continues to work; getting the final yellow cedar trim pieces in place. Screw holes plugged and lots more sanding to make everything smooth and classy enough for the Columbia III.

Beginning to look like a roof worthy of the mothership!


After 5 months (and bringing a new little girl into the world), Luke says he’s done… For now.
Late one night, he exclaims “She’s ready to paint!”

THE BIG MOMENT!
The first paint goes on the project.
We had better hurry, with only 7 days left before the Columbia III comes out of the shed, when ready or not she heads to the shipyard for her annual underwater inspection.
We need all the bare wood protected from the weather that will surely be dishing out the rain and wind right on schedule for our voyage to town.
Here, Tavish is using a grey primer that is darker than the final finish will be.

Do you feel the satisfaction of a fresh coat of paint on finely sanded wood like we do?

And finally…
• (drum roll please) •
The crowning moment of our whole winter, exciting news flashed around the globe, we finally get to turn all that wood to white!
April came down from the cabin one evening to document this historic (though messy) event.

Father-son-team completing a spring ritual of wood-to-white painting.


The best thing about painting a roof is that it requires many horizontal inspections.

“Now, Tavish, make sure you don’t stand directly under your paint brush or you’ll end up with paint on your face.” Do as I say, not as I do.

The painting team: Tavish, myself, and Steve.

Portraits of the team.


Or for a more accurate group photo:

We wanted to demonstrate that we had paint coming out of our ears on this job!

Someone has to say ‘enough is enough’ after a long day.

Tavish completes the finishing touches.

A flashback to only a few weeks ago: Luke in all his glamorous glory next to his freshly sanded roof-in-progress.

To the roof now – freshly painted white.

With a freshly constructed and painted roof, we are one step closer to having the Columbia III ready for the 2016 season.
Next step, an adventure to the shipyard!
Til then,
Ross